Green screens are used everywhere, even though we may not see them.
Much of Hollywood was built on movies that relied on green screen technology.
Likewise, newsrooms employ a green screen to project the weather maps and news segments every day.
There are many excellent green screen software providers out there.
So how do you know which one is right for you?
We will compare the best green screen software providers available for every budget to get you video editing like a pro and creating magic with your digital media.
Contents
What Is Green Screen Software?
Green screen software allows anyone to add visual effects to their video editing.
Using a green screen as a backdrop allows an editor to later remove the green, known as ‘chroma keying,’ and superimpose the footage over another background.
Green is used because of the sharp contrast to skin tone.
With the editing software, you can quite easily have your subject, or yourself, placed in front of whatever background you can imagine.
Green screen is certainly not a new technique.
Blue screens were initially used to color key, but blue is a much more popular color.
It would make portions of the subject vanish wherever the color of the wardrobe matched the color of the backdrop.
Green became the preferred backdrop color, and soon the technology was being used extensively in movies, news telecasts, music videos, and video games.
How Does Green Screen Software Work?
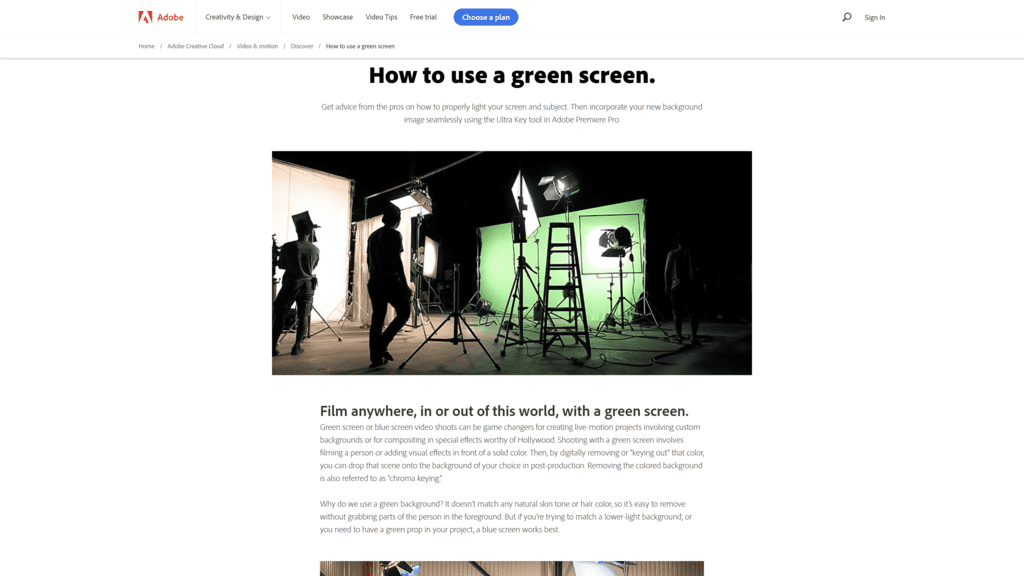
You start with a green screen backdrop.
For a DIY green screen, this can be a blank wall painted bright green or a green cloth draped in the background.
In Hollywood, some green screen soundstages can be the size of a city block.
Once you have recorded your subject in the foreground with proper lighting, you turn to your video editing tool.
Using the chroma key process, the green color of the background is removed or made transparent in your video, leaving only the subject in the foreground.
The transparent background is replaced with a separately filmed or computer-generated screen composite.
Green screen software can transport your subject into deep space, under shark-infested waters, or hanging perilously from a cliff.
Who Needs Green Screen Software?
Green screen software has many applications and can be used by various creators.
Video Editors
Whether working postproduction on a big-budget movie or making a corporate video, video editors of all levels of experience turn to green screen software to create special effects.
Green screen software allows a video editor to transport a subject to any location imaginable without leaving the studio.
Once you have removed the expense and logistics of shooting on location, this opens many possibilities.
Newsrooms
Everybody is familiar with how a news broadcast presents a weather report.
A weatherperson stands in front of a green screen while a radar map or temperature forecast is displayed in the background.
The weatherperson looks at a monitor and appears to point at the map when they are actually pointing at a green backdrop.
Behind the desk of news anchors, a green screen is often used to project the backdrop of the local city or to provide live video to engage the audience.
Bloggers
Bloggers and vloggers can make their video content creation or photography stand out from the crowd with some eye-popping visual effects.
Want to make your video go viral?
It is relatively inexpensive to set up a green screen studio at home.
A green screen kit, including a collapsible green screen or a self-made backdrop, gives a blogger complete control of their environment.
A green backdrop, adequate lighting, and green screen editing software are all that are needed to create footage against any background.
Best Green Screen Software
There are several different green screen software options out there.
Let’s compare the best of the best.
Adobe Premiere Pro CC
Adobe Premiere Pro is considered the industry standard for video editing software.
If you are prepared to master all of the tools Adobe offers, you will soon be turning your video production into professional-grade digital media.
How It Works
Edit your green screen footage.
Once your subject material footage is good to go, use the Adobe Premiere Pro Ultra Key tool to key out the background.
Open the Effects panel and then the Ultra Key tab.
Use the Eyedropper tool to choose your key color, selecting an area on the green screen.
Make any necessary adjustments to the new background you add to your video.
For example, when shooting a subject close-up, as in an interview, you can add some depth of field by making the background slightly soft.
Key Features
Adobe Premiere Pro is professional-level video editing software in every sense of the word.
Key features include:
- Ability to edit simultaneous projects
- Outstanding special effects & graphics
- Easy to master transitions
- Direct publishing options
- Supports multiple formats
- New text, graphics, and audio tools
Pricing
Premiere Pro is only available by subscription.
Adobe offers a free 30-day trial.
After that, there are different plans to choose from:
- $20.99 monthly (annual commitment)
- $31.49 month-to-month
- $239.88 full year
- $33.99 per month per license for business customers
Camtasia
Camtasia is extremely user-friendly editing software that enables both the novice video maker and the seasoned pro to create exceptional digital media.
How It Works
Once you have your green screen footage transferred to your computer, it is as simple as selecting the Remove a Color feature in Camtasia’s visual effect menu, then dragging and dropping it onto your video clip.
Select the background color you would like to remove from your footage, in this case, green.
Remember, any color can be used to color key; green is the preferred choice.
Drop your new background image in place of the removed background.
Camtasia makes it easy with helpful tools to help scale your new background image.
Key Features
Some key features I found that made Camtasia very easy to use include:
- Automatic audio leveling for smooth sound
- Keyboard shortcuts made navigation easy
- Customizable media clips to import your images
- Camtasia has added 75+ new modern transition effects
Pricing
Camtasia offers a 30-day free trial to try out the software before signing up for one of its payment plans.
After that, pricing is based on the number of users.
- $281.46/user – Individual plan ($50.00 annual renewal)
- $281.46/user – Business plan ($50.00 annual renewal)
- $201.45/user – Education Plan ($42.94 annual renewal)
- $252.37/user – Government and Nonprofit plan ($44.83 annual renewal)
All four plans include a 30-day money-back guarantee.
Wondershare Filmora
Wondershare Filmora video editor has everything you need to give your videos that professionally edited look.
In addition, it comes with extensive tutorials to guide you along the way.
How It Works
Green screen layering is easy in Wondershare Filmora and can be completed in just a few simple steps.
Create a new project and import the green screen footage and background images to the media library.
Drag and drop your background footage into the first track.
Then place the green screen video clip on the track above.
Click on the green screen footage in the timeline to enter the Edit panel.
Choose the Chroma Key green screen feature.
The green screen color in your footage will instantly become transparent.
Next, position your background video clip on the video track on the timeline.
The background footage will fill the transparent part of the green screen.
The final step is to click the Export button, select the desired format, and get ready to share or upload your green screen video to your favorite video-sharing platform.
Key Features
Filmora makes chroma keying your background effortless with these key features:
- Supports any video format you shoot in
- Easy to blend your video footage with new backgrounds
- Video and audio controls
- Advanced text editing and noise removal
- Ability to layer multiple video clips
- Multiple ways to share video content
Pricing
Filmora offers a free trial download before you buy the editing software.
You get to export footage up to ten times to try out the product.
However, your trial video exports will be watermarked with the Filmora logo.
Filmora offers a subscription model for both macOS and Windows applications if you want to purchase the software.
Watermarks are removed, and 24/7 technical support is available.
New effects are added monthly for subscribed customers.
- $51.99/year
- $79.99/outright purchase
iMovie
iMovie for macOS turns your video clips into cool movies and makes them easy to share on social platforms- all for free!
How It Works
Once you have uploaded your footage, the first step is to add the new background still image or live stream to the timeline.
Then add your green screen clip above the background clip in the timeline.
You will want to trim your background video clip to match up with the green screen clip.
The two video clips will move together when arranged in the timeline.
Select Green/Blue Screen from the pop-up menu.
iMovie removes the green from the green screen clip to reveal the background clip behind your subject.
iMovie has several tools to fine-tune your edited clip, like Softness control and Crop and Clean-Up buttons.
Once your editing is complete, you can directly upload your video to many social media platforms.
Key Features
iMovie makes editing incredibly easy.
Key features include:
- Simple drag and drop functionality
- Animation options
- Wide variety of templates
- Share directly to social platforms
Pricing
iMovie is available for free download on your Mac or iOS.
Lightworks
Lightworks is an excellent choice for new editors just starting for its flexibility and price: free.
Lightworks Pro will cost some money but allows you to produce professional-quality video editing suitable for broadcast.
How It Works
Lightworks is a very user-friendly editing software.
To start, click on Create a New Project, name it, and select your frame rate.
Import your still image or video to be used as your new virtual background.
Click the Edit tab and drag your video from the Project Contents panel onto the V1 track of the timeline. Trim any unwanted footage.
Next, drag your video clip into the V1 track and your still image into V2.
Click and drag the right-hand side of the image in the V2 track until it’s the same length as the video.
Select Key, then Green Screen.
A new panel of settings will appear.
When you click Add Effect, you will be able to neutralize the green background in your video.
When you have finished color keying your video, you can preview it before hitting Export.
Key Features
Lightworks offers everything you need for video editing with the ability to export videos in MP4 format, ready to be uploaded directly to YouTube or Vimeo.
Lightworks Pro delivers the basic package plus added features such as:
- High-resolution rendering
- Advanced video effects
- Advanced custom format creation
- Audio effect plugin support
- Export media file formats
- Social media export templates
Pricing
Lightworks basic editing software is free.
Lightworks Pro: $24.99/month, $174.99/year, $437.99 (one-time).
VSDC
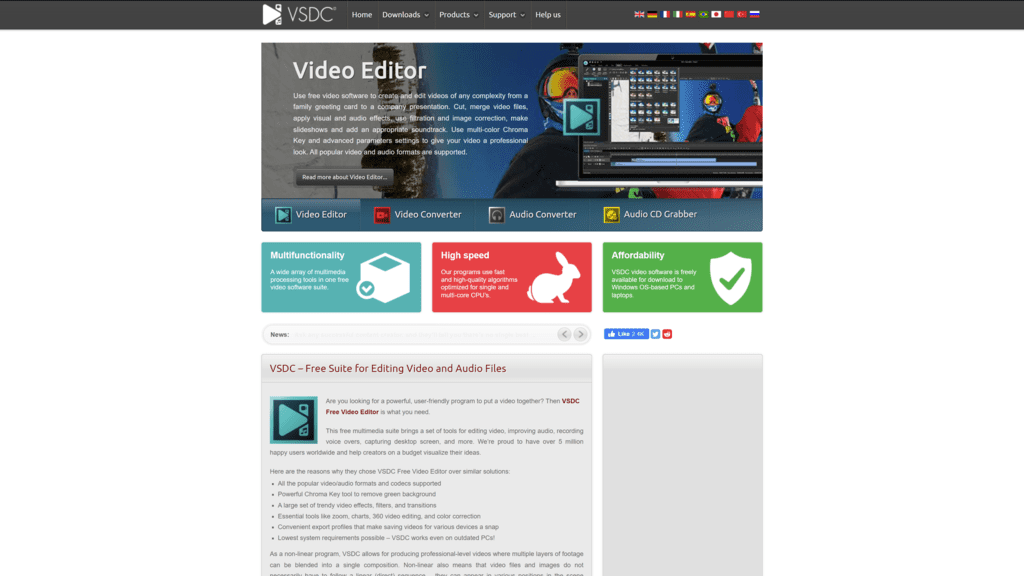
Another quality editing software for removing green backgrounds when on a tight budget is VSDC free video editor.
It is a very functional editing tool that is not complicated to use.
How It Works
Once you’ve added your green screen video to the timeline, go to the menu at the top and choose the Video Effects tab.
After clicking on Transparent, go to Background remover.
The nice thing about VSDC is that it will automatically detect the color of your background and remove all bright green chroma.
You can also specify the color you want to be removed by clicking anywhere on the background.
Then, add your background picture and drag your video to the front layer of the timeline.
I found VSDC extremely user-friendly and easy to navigate throughout the editing process.
Key Features
Even though the free version of VSDC is quite capable, the Pro edition is so inexpensive compared to other green screen software that it is more than worth the upgrade.
Some of VSDC’s free video editor key features include:
- Supports popular formats
- Non-linear video editing
- Color blending and filters
- Visual and audio effects
- Export to social networking sites
- YouTube uploader
Pricing
VSDC is free, but if you want green screen capabilities, you will want the Pro edition for a fee of $19.99.
For what you get, it is well worth the investment.
In addition to green screen video editing, the Pro version adds support for more media types, audio waveform editing, and premium support.
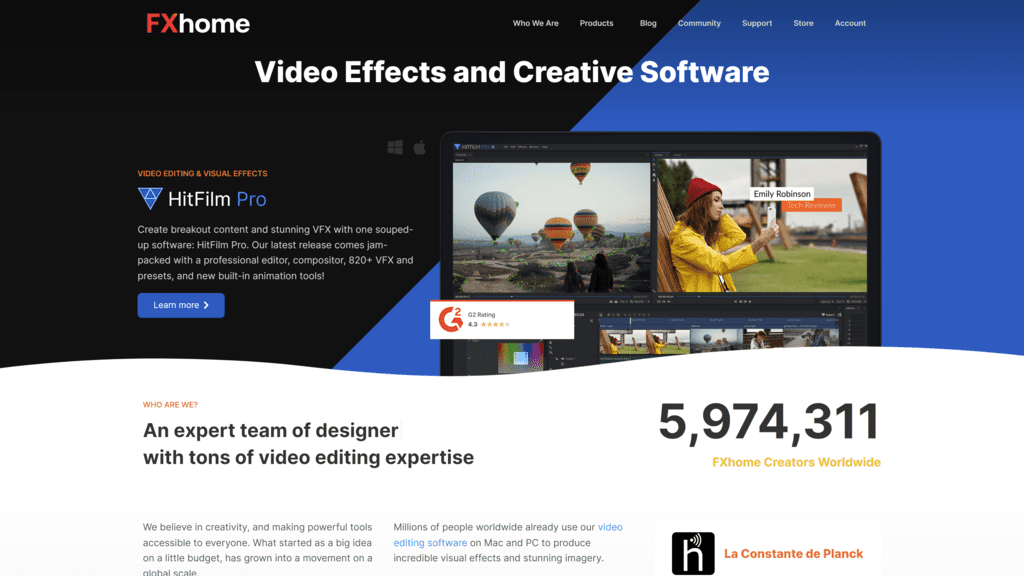
HitFilm Express
HitFilm Express is considered by many to be the best of the free video software options on the market.
How It Works
To remove the green screen background from your uploaded video with Hitfilm Express, navigate to the Effects panel and search for the Color Difference key.
This will open a Controls window where you can change the screen color to green.
There are Min and Max options to control the amount of background you want to keep and how much you want to delete.
By removing the chroma, your new background will come into full view behind your recorded footage.
You will then be ready to export your video.
The HitFilm Pro version of the software includes a chroma key effect making it even easier to get high-quality results with your video editing.
Key Features
HitFilm gives you all the tools needed to perform the most common editing tasks:
- Texts and titles
- Transitions
- Edge softness option
- Special effect tools
- Presets for the export destination of video content
Pricing
HitFilm Express is free and supported by users with a pay-what-you-can model.
A $9 starter package gives you tools for editing, color correction, and special effects.
The VFX Artist level for $39 upgrades the software to include video effect enhancements like the Composite toolkit and Pro Keying.
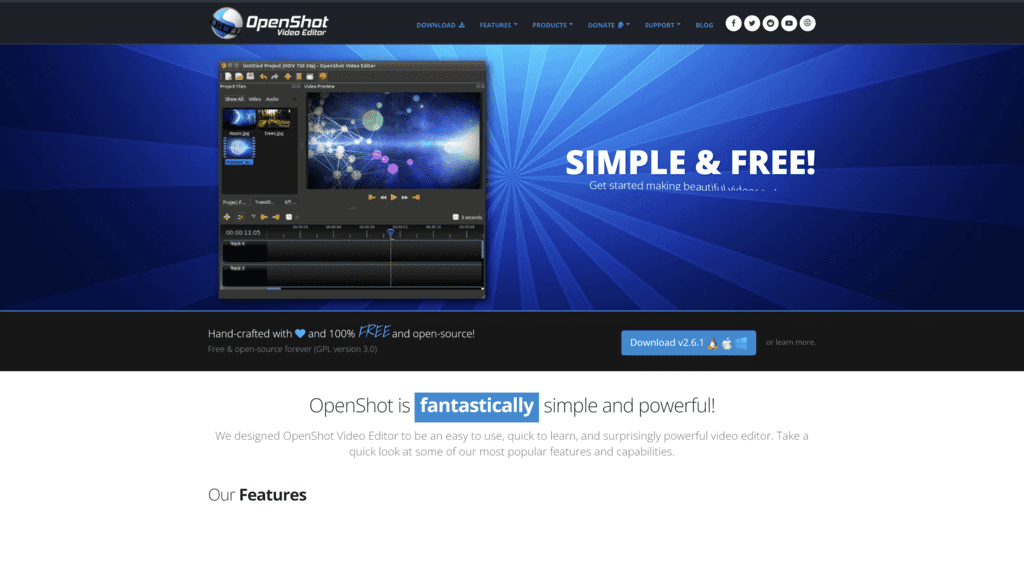
OpenShot
I found OpenShot Video Editor to be an editing software that was quick to learn, easy to use, and with excellent results.
How It Works
Import your two files, the green screen footage of your subject, and the image to be used as the new background.
Drag your files onto the track in the timeline.
Track 1 will be your background file, and Track 2 will be the file you want to chroma key.
Once keyed, the green area in your footage will become transparent.
This will make the second file on Track 1 visible.
To find the chroma key effect, click on the Effects tab.
Next, drag the chroma effect onto the upper file in the timeline, then select Properties.
Click the Effects tab, find the chroma key effect, and drag it onto the top file in the timeline.
In the top file in the timeline, select Properties.
In the Properties window, click the Effects tab and then click the Chroma Key effect.
Once you have done this, you will be able to select the green-colored area next to the word “Key,” and the Pick a Color window will pop up.
Next, use the eyedropper tool to key the green area visible in your file.
Select OK, then Apply.
You will now be able to see your video with your new background image.
Key Features
Considering OpenShot is free to use, it certainly comes packed with key features:
- Support for many video, audio, and image formats
- Video transitions with real-time previews
- Audio mixing and editing
- Digital video effects
- Clip resizing, scaling, trimming
- Cross-platform video editing software (Mac, Windows, Linux)
- Title templates, title creation, sub-titles
Pricing
OpenShot is another free, high-quality editing software.
Summary: Best Green Screen Software
As you can see, there is no shortage of quality editing software packages out there for you to use to create your award-winning video content.
Find the green screen software that is right for you that fits your budget, and there will be no end to the creative possibilities.
